Tiramisu
Early 2009, I had Tiramisu cake at Olive Garden (an Italian Restaurant) for the first time and I fell in love with this cake. After lot of research and hesitation, I tried to make Tiramisu Cake in the year 2015 and fortunately it came out good in the first try itself. This is my families all time favorite cake and I am happy to share the recipe of Tiramisu as my 100th post/recipe.
Tiramisu is an Italian cake. There are three layers in this cake . Lower layer is coffee soaked ladyfinger cookies. Middle layer is a mixer of egg yolks & mascarpone cheese. Upper layer is whipped cream drizzled with cocoa powder . In many places, they do one set of three layers only but here we are preparing cake with two set of three layers . Second set of three layers is totally optional. It’s no bake cake. Classic Tiramisu cake have Rum (2 tbsp added in coffee) in the ingredients list. If you want the touch of classic cake you may add rum substitute (no alcohol – 2 tsp) with brewed coffee.
Ingredients
Ladyfinger cookies
Cocoa powder – 1 tbs
Heavy cream – 2 cup
Mascarpone cheese – 1 lb
Egg yolks – 6
Sugar – 3/4 cup
Milk – 2/3 cup
Vanilla extract – 1/2 tsp
Coffee powder – 2 tbsp
Directions
Middle Layer
Take 6 eggs and separate egg yolks and pour it in a pan and place the pan in the burner with low flame
Whisk the egg slowly and add sugar little by little
Mix everything continuously and pour milk little by little
When you see the bubbles, stop the flame
Let the mixture to cool down for a while
Keep this cooked mixture in refrigerator for at least 1 hr
After that add mascarpone cheese to this egg mixture without any lumps
Keep the mix in refrigerator for at least 2 hours or if keeping longer, until you are ready to assemble the layers
Top Layer
Take heavy cream and vanilla extract in a mixing bowl
Beat the cream well using hand mixer until stiff peaks form, keep this also in refrigerator until you are ready to assemble
Bottom Layer
For Bottom Layer, you need to Brew coffee. You can add real rum or imitation rum if you like the cake to be authentic.
Brewing Coffee
Add 1.5 cup of water in the coffee maker
Place the filter in the upper part and add 2 tbsp of coffee powder
Switch on the coffee maker
Wait until all the water drained; Coffee is ready now
Assemble Cake Layers
Take a rectangular pan (9x7x3 size)
Take a big bowl that can soak the ladyfinger
Pour the brewed coffee into the bowl and soak the ladyfinger one by one and place it in the pan
Take out the middle layer cream from fridge and add it.
Level the cream layer
Now take out the top layer cream from fridge and add it.
Level the cream layer
Repeat the three layers again.
Now take the coco powder and sprinkle on top using tea filter
Cover the pan and keep the cake in refrigerator
The cake take overnight or 8 hrs to settle
Tiramisu cake is ready to serve
Pictures

Ingredients 
Take Egg yoks in a pan 
Heat in low and add sugar 
Mix well 
Add milk little by little and stir 
Keep Stirring 
Stop flame, when bubble comes 
Keep it in refrigerator for 2 hours 
Meanwhile, lets make Coffee 
Add 1.5 cup water 
Add two tbsp coffee powder 

Switch on the coffee maker 
Mascarpone Cheese 
Add mascarpone cheese in the mix and mix well 
Make sure there are no lumps and keep in fridge 
On a mixing bowl, take vanilla essence 
Add heavy cream 
Beat the mix with hand mixer 
Whipped cream is ready; keep in fridge 
Prepared ingredients 
Take a cake pan or tray 
Pour little coffee in a wide bowl 
Dip ladyfinger cookie one side in coffee 
Turn the cookie side and dip again 
Place cookie in the tray 
Continue until pan is filled 
Now take the mix from fridge and fill a layer 
Apply evenly 
Add whipped cream and apply evenly 
One three layer is complete now 
Continue second set of three layer 
Arrange coffee soaked lady finger cookie 
Apply the middle layer mix evenly 
Add whipped cream evenly 

Two three layers are complete now 
Take coco powder in tea filter and apply on top 
Coco sprinkled Tiramisu 
Keep it in refrigerator overnight 
Tiramisu Cake is ready 
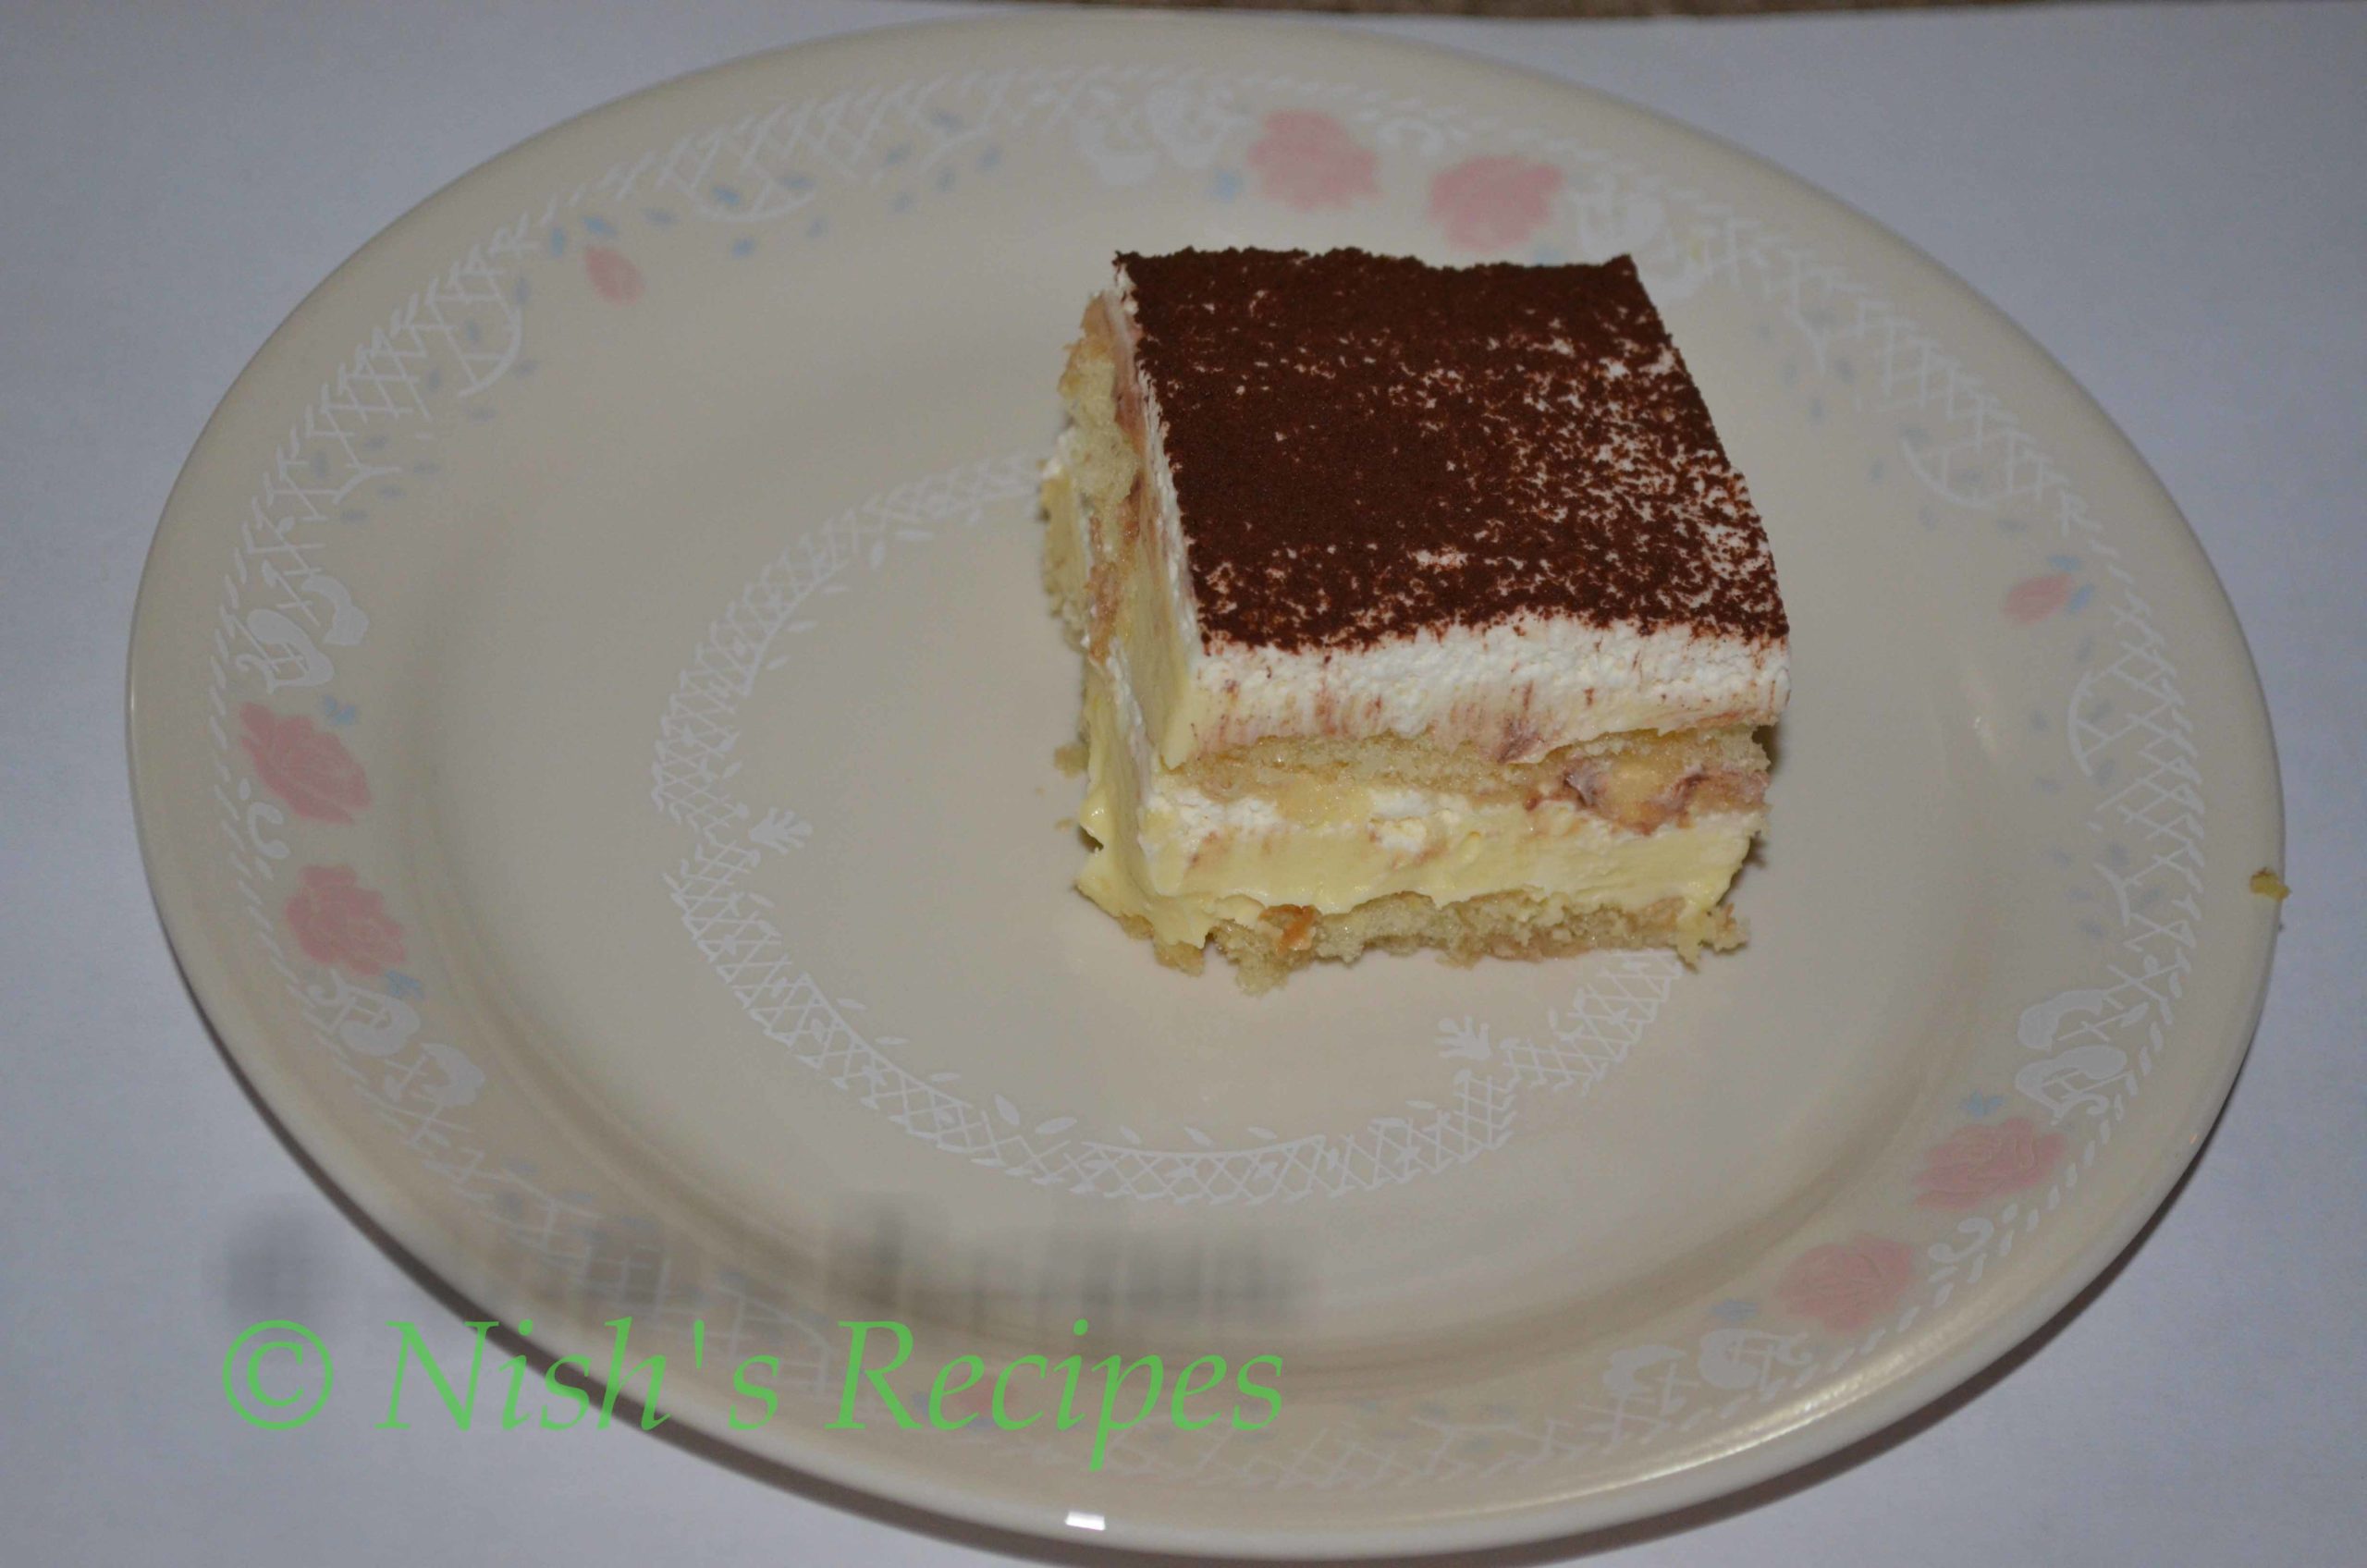
Slice carefully and take a piece out 
Layers 
Piece of Tiramisu cake 
Layers 
Tiramisu
Let your friends know:

Discover more from Nish's Recipes
Subscribe to get the latest posts sent to your email.